The rear hatch window on the Jaguar E-type is not that difficult to install – although the chrome trim strip can be a pain as they do not seem to fit that well. There is a trick to the rubber window seals for the both the hatch and windscreen. This will be explained.
The hatch window is small and the glass relatively straight. It is really easy to install compared to the windscreen. The Series II 2+2 and Series III windscreens are a real bear because they have a big curve and are large and unwieldy. Start with the hatch window as you need the practice before you tackle the windscreen!
Before I begin, I have not found the old trick of putting string inside the strip and pulling it out to pop the rubber seal over the hatch window of windscreen works for me with the Jag rubber seals. So, I will show how I did it on the E-type.
Also – you need to purchase a special tool to install the lockstrip into the window seals. In the USA you can get this online at
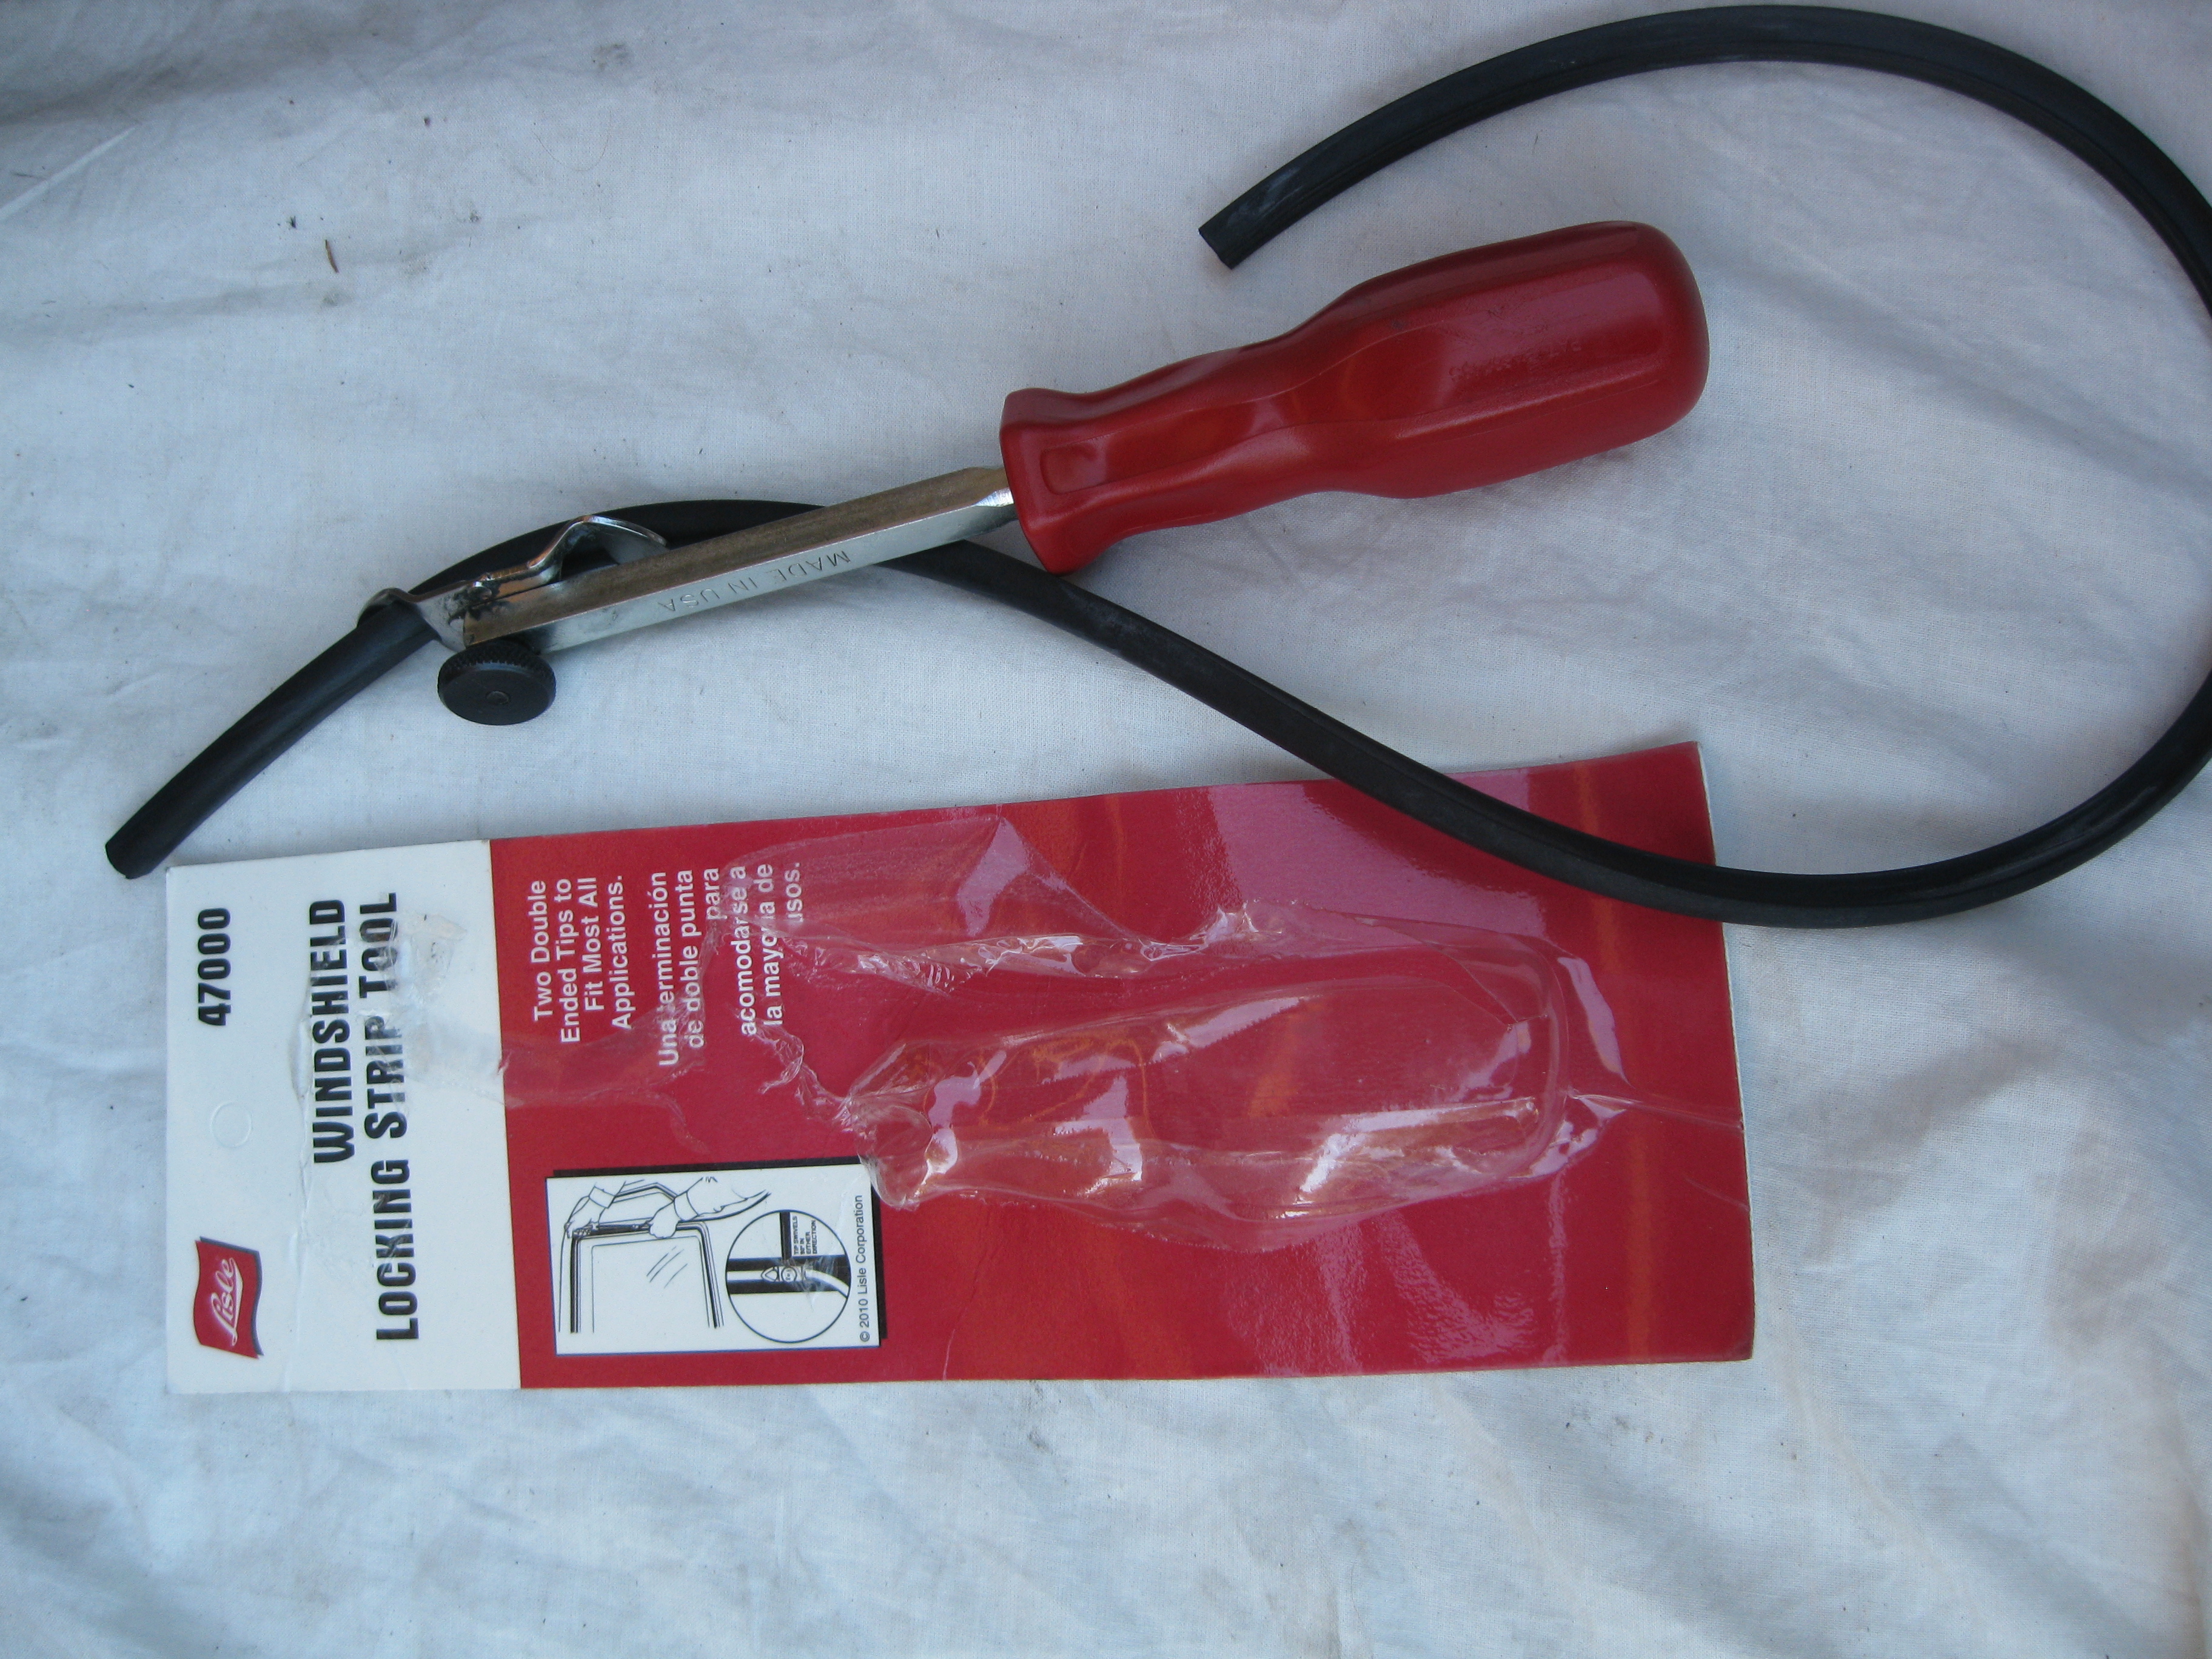
The Lisle tool for the E-type window lock strip and a sample piece of the lock strip.
Amazon or eBay, or pick it up at Autozone for less than $20. Other parts stores do not carry this item in my area – but you need it befroe you can start to install the hatch window and windscreen – so make sure you have it. It is called a Lisle 47000 Windshield Locking Strip Tool
There is a VERY IMPORTANT thing to remember before you launch into the hatch installation. Before you put the rubber strip onto the hatch frame and install the glass you have to install the rear vinyl finish upper and lower covers on the rear hatch interior. The vinyl that trims out the interior side of the hatch tucks up and over the hatch frame and is held secure and tight by the rubber seal and the window. If you forget to put the vinyl interior on

E-type rear hatch interior vinyl. Install this before installing rubber window seal and window! You can see how rubber seal holds vinyl in place.
first you will have to remove the hatch window and the rubber strip to install the interior trim pieces. Don’t bother asking how I know this….. Ok – so start by installing the interior vinyl cover pieces on the hatch – mine were perfect so I reused it. Use some trim glue.
Next, make sure that the rubber hatch water seal is installed or you have some really good padding around the hatch opening in the body so that you you do not scratch that new paint as you work the glass into the frame. You may want to tape padding on the body and hatch so that if the

Installing the E-type interior hatch vinyl prior to putting on rubber window seal.
glass slips it will not ruin the paint.
The next thing to do is to put the rubber hatch seal around the hatch opening. Do not lubricate the contact area between the hatch and the rubber because you want a little friction to hold the the rubber seal in place. Some people put some silicone. I am not sure you need this as the rubber provides a good water seal.
Also – there is an inside and outside to the rubber seal. You want all the grooves and ridges in the strip to face outward. This is because you will attach the lock strip and metal trim by fitting them between these various grooves.

Here is the hatch window being installed into rubber seal. Note the grooves facing the exterior of the car. Gently prying rubber over window using blunted plastic scraper.
Once the rubber seal is in place you should lubricate the large groove that the hatch window will fit into. I have tried dish soap and vaseline. I prefer the latter as it just seems to work better. Now, this is definitely a two person job. Once the large groove is lubricated start by slipping the lower edge of the hatch window into the groove. do this with the hatch closed and at an angle. Initially the glass will go in very smooth and easy. Work it into one lower corner and then up the side, the other lower corner and side. Now as you move to the top corners it will get harder to insert the glass. I use a plastic scrapper that is blunted and pull the rubber over the glass. Also, as you proceed, have one person inside the car to support the glass and make sure the inner seal is good. Take your time and you will eventually get the glass into the large groove and you are ready for the next task.
The rubber seal that holds the hatch window and the windscreen in the E-type is a two part affair. First there is the large rubber seal you just inserted the glass into – but this is held firm against the car’s window fra

Using the Lisle lock strip tool on a E-type windscreen installation
me and firm against the glass by a second thin strip of rubber that is inserted into a central groove in the large rubber seal once the window is in place. This is where you Lisle tool comes into play.
Once the hatch window is inserted into the large rubber seal, use vaseline to lubricate the large groove that runs around the
center of the rubber seal and faces the exterior of the car. The take the small rubber seal and insert it into this groove. You do this by running the small rubber strip through the opening in end of the Lisle tool and using the tool to pry open the groove in the large rubber strip as you insert the thin strip into it. Once done the thin strip is held firmly in place by the grove and it forces the large rubber seal to expand firmly against the window frame on the outside and glass on the inside. The hatch window is pretty straight glass and all this usually goes pretty easily. I have included some pictures which I hope helps.
For a sense of accomplishment – think of the money you saved – some glass guys will charge $100 to $200 to install this window…

The E-type rear hatch window installed. Note the locking strip is in place holding the window firm through pressure.

Excellent description of installed the rear hatch glass. Had a few grumbles and slips to begin with but after reading your easy to follow instructions, the installation was successful. Thankyou!
LikeLike
Thank you! Sorry to the late reply. 2020 has been a bear…
LikeLike
Thanks so much for your excellent description of fitting the rear hatch glass and seal. After reading your easy to follow instructions, I manage to install mine successfully. Much appreciated. Thankyou
LikeLike
Thanks for the nice feedback. I am glad it worked for you. Have fun with your E-type!
LikeLike